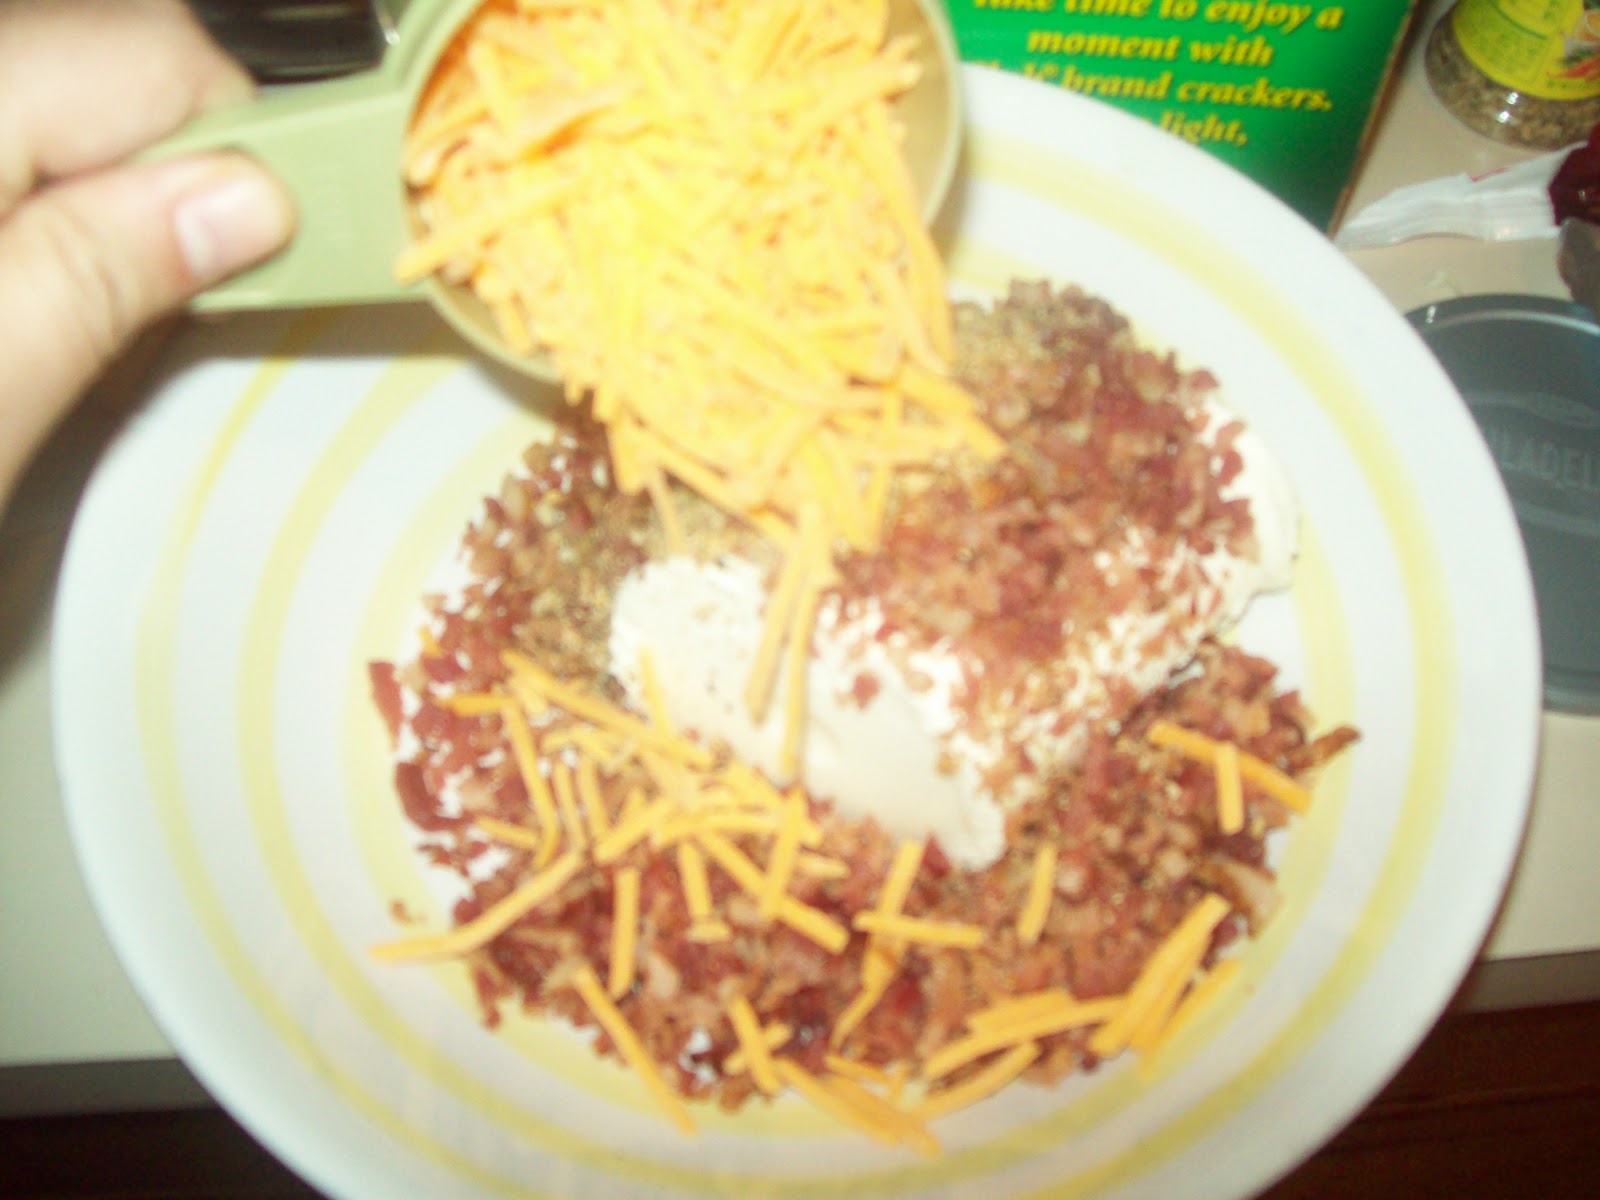
Bacon Cheddar Cream Cheese Ball!

Tuesday, November 9, 2010

This is the best cheese ball I've ever put into my mouth. Sadly though, I can't claim it as my own. I was given this recipe by one of the children's mothers that I used to take care of at the daycare I used to work at. I remember her bringing a cheese ball in for all of the teachers. (Shh, don't tell anyone but the other teacher that shared the room helped me eat all of it by the end of the day! ;))
INGREDIENTS:

12 oz cream cheese, softened

1 cup shredded cheddar cheese

1 tsp Mrs. Dash Original

1 small package Real Bacon Bits (about 1 cup)

1 cup chopped walnuts

Directions:

It's just this easy:

All you have to do is mix the first four ingredients up, for that into a ball, and then roll the ball in the walnuts. Once all of this is done, simply refrigerate your cheese ball overnight and you're done.


-Best served with crackers. :)


Yes, I know these aren't the best pictures. I'm not the best photographer. I'm going to have to get a new and better camera along with some pretty serving platters. (Cough* Hint for Christmas presents *Cough) :)

Mexicali Skillet

Thursday, November 4, 2010

This recipe was given to me a few years ago when I first started cooking. This is probably Stacy's absolute favorite recipe, which surprises me because he is so picky. I've introduced this recipe to a lot of different people and they all have enjoyed it so now I am here to share it with you guys. It's very good!


INGREDIENTS:

1 small onion, diced

1/2 lb ground beef

1 package cocktail sausages

1 can stewed tomatoes, undrained

1 can pinto beans, undrained

1 can green chilles

3/4 cup white rice

1 tbsp chili powder

1 cup water

1 cup shredded cheddar cheese

Salt and pepper to taste

1 can mushrooms (optional)

A few splashes of Frank's Hot Sauce (optional)


DIRECTIONS:

I start by sauteing my onions for about two to three minutes until soft. I then remove the onions and brown my grown beef. Once the ground beef is done, I throw in all of the other ingredients, including the  sauteed onions. I let all of this simmer for about 20-25 minutes on medium to medium-low heat. I stir it occasionally so that the rice doesn't burn to the bottom of the pan. You'll know your dish is done when the rice is fluffy and you can bite into it without it being hard. Duh! ;)


Yep, this recipe is that easy. This simple little dish will serve about 6 people easily. I love it so much because it has so much flavor and I absolutely love cocktail sausages!


Enjoy!


Shrimp Spaghetti Marinara

Tuesday, October 26, 2010

I work at an Italian restaurant and the other day I had some customers who came in who I seriously thought were food critics. The woman ordered spaghetti marinara and added shrimp and I thought I was going to throw up thinking about how absolutely disgusting it sounded. And then I saw the dish! You wanna talk about some delicious looking food? Yeah, it looked awesome. I then started talking to my customers about the dish and how good it looked when the lady told me that she makes this at home quite frequently. Of course, being the foodie I am, I started thinking of ways that I could make marinara at home.

Yesterday, my brain started going ninety to nothing on how I was going to pull of Shrimp Spaghetti Marinara. I looked through about 20 different recipes to try to find something I wanted and was getting frustrated because I couldn't find anything I liked. Like always, I got frustrated with it and decided to wing it. I was impressed with my outcome.

INGREDIENTS:

1 lb spaghetti pasta

1/2 cup olive oil

1 1/2 lbs uncooked shrimp

1 28 oz can peeled plum shaped tomatoes (diced tomatoes are fine too)

1 28 ox can puree tomatoes

1 8 oz can tomato sauce

2 garlic cloves minced

1/2 onion diced

1 tsp cayenne pepper

parsley

oregano

basil

salt

pepper

a couple of splashes of Frank's Hot Sauce


PREPARATION:

I started by sauteing my onions in about 3 tablespoons of olive oil. I let the onions sauteing for about a minute and a half before adding the garlic to saute. Once I threw in my garlic I let that saute for about another minute and a half. 


Once the onions and garlic were sauteed enough, I added the entire can of peeled tomatoes, about 3/4 the can of pureed tomatoes, and the entire can of tomato sauce. I then smashed up all of the whole tomatoes (which is why I say you can use diced tomatoes. I only used the whole tomatoes because they were Italian style). to where the sauce was a little clumpy, but not too much. 


Next, I added my spices and lots of olive oil. I don't know exactly how much basil, oregano, and parsley I used, but I expect it to be about 1 tablespoon or basil, 1 1/2 teaspoons of parsley, and about 1/2 a teaspoon of oregano. The cayenne pepper is optional, but I wanted a spicy marinara so I made I added a lot.


Once I got my sauce to the flavor I liked, I let it simmer for about an hour. I tasted it quite frequently because when simmering, the flavors settle and I had to just the spices more to my liking.


About 3/4 of the way through simmering, I started sauteing my shrimp. I sauteed the shrimp in a few tables spoons of olive oil with salt and garlic added.


Once my shrimp was done I added it to the sauce. I wouldn't do this again though because the sauce had a fishy flavor to it. Next time I will keep the shrimp separated and save the marinara for other things. I really like my marinara and I will definitely be making it again. Even Stacy thought it was really good, and he doesn't even like spicy food.


Here is my finished product. I'm extremely satisfied with the way it turned out and I will be making this again without the shrimp (because Stacy doesn't like seafood). I will also be using this marinara in other dishes and I'm very excited that it turned out so well on my first time making it!!!


Happy eating!


Poppy Seed Chicken

The first time I ever had Poppy Seed Chicken, if I am not mistaken, was at Stacy's (my fiance) family reunion a few years back. I didn't even know what it was; all I know is that it was good! I always look forward to going to the family reunions, especially for that dish! Here recently I went to a "meat and three" in Wetumpka which is a small town a few minutes from my home. I ordered Poppy Seed Chicken for my daughter not even knowing what in the world I was ordering. When the dish came to my table and I tasted it for Autumn to see if she would like it, I immediately ordered some for myself. Point of the story? I love Poppy Seed Chicken. It has so much flavor and my family loves it.

The first time I made this dish I looked online for a bunch of different recipes, like I always do, and tried to make my own but they're almost all the same. I don't like being the same as everyone else, in case you didn't know, so I tried to come up with a different recipe. The first time was awesome, the second time was better, and the third time was almost perfect!

Here's what I did:

I used the basic recipe with a couple of little twists.

INGREDIENTS:

4 boneless skinless chicken breasts

2 cans cream of chicken soup

10 oz sour cream

1 cup shredded cheddar cheese

1/2 tsp garlic

2- 3 tbsp poppy seeds

3/4 cup melted butter

1 1/2 sleeves Ritz crackers

salt and pepper for taste


PREPARATION:

I first started preheating my oven to 350 degrees and then by cutting my chicken into one inch cubes. Once all the chicken was cut up, I threw it into boiling water and let it cook for about 20 minutes. on med-low heat.  


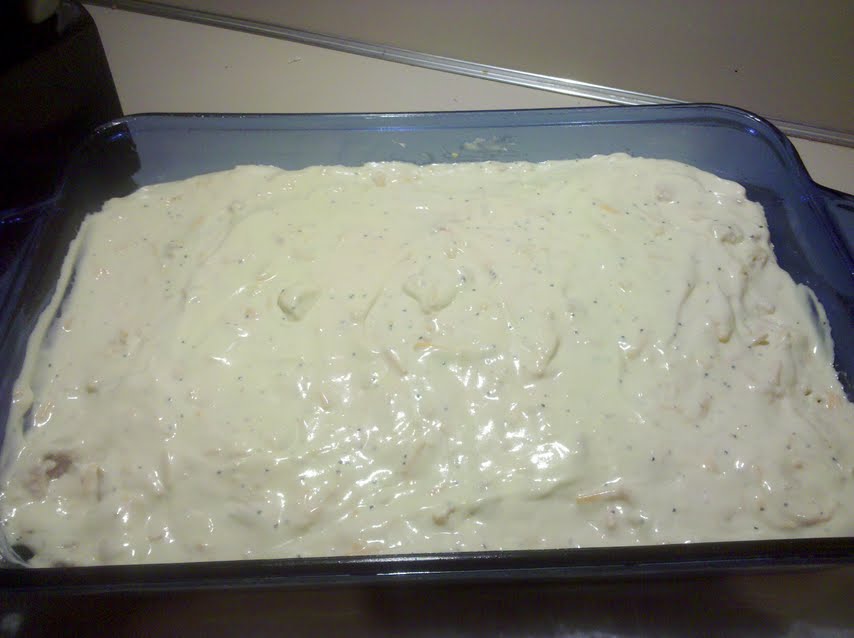
While my chicken was boiling  I made the sauce that would go over the chicken. I mixed the cream of soups, sour cream, cheese, garlic, salt, pepper, and about a tablespoon of poppy seeds into a small mixing bowl.


Once the chicken was done, I shredded it with my fingers and spread it out into a greased casserole dish. While some people like to keep their chicken cubed, I prefer to cube and then shred mine because I like the chicken in every bite I take once it's on my plate. I learned this time around that cubing the chicken made it easier for me to shred the chicken with my fingers and was less time consuming because the pieces were much smaller to shred!


My next step is to merely spread the soup mixture on top of the shredded chicken.


After all of the soup mixture was spread evenly, I crumbled up a sleeve and a half of Ritz crackers and evenly distributed them over the soup mixture. Once the crackers were evenly spread, I poured my melted butter slowly and evenly  over the crackers making sure to have butter on almost every piece of cracker. 


Lastly, I sprinkled about two tablespoons of poppy seeds on top of the Ritz crackers. I then stuck my dish into my preheated oven for 30 minutes.


Here is my final product. I typically serve my chicken on top of white rice and eat it like that, but this plate was for one of the children who came over to eat so I had to separate it.


This recipe is sure to be a crowd-pleaser! I ended up being able to serve four adults and four children with this dish and still have about two servings left over. It's so good and has become a regular entree in our household. I try not to make it very often because, like every dish, if you eat it too much you're going to get tired of it and no one in my family wants to get tired of this. It's that good! :)

About Me

My photo
I am a mother, soon to be wife, and daughter. I'm half Filipino and half American and was raised in sweet home Alabama. I have a passion for cooking food and I'm here to blog about it!
Powered by Blogger.

FilipinaFoodista Copyright © 2009 Designed by Ipietoon Blogger Template for Bie Blogger Template Vector by DaPino